

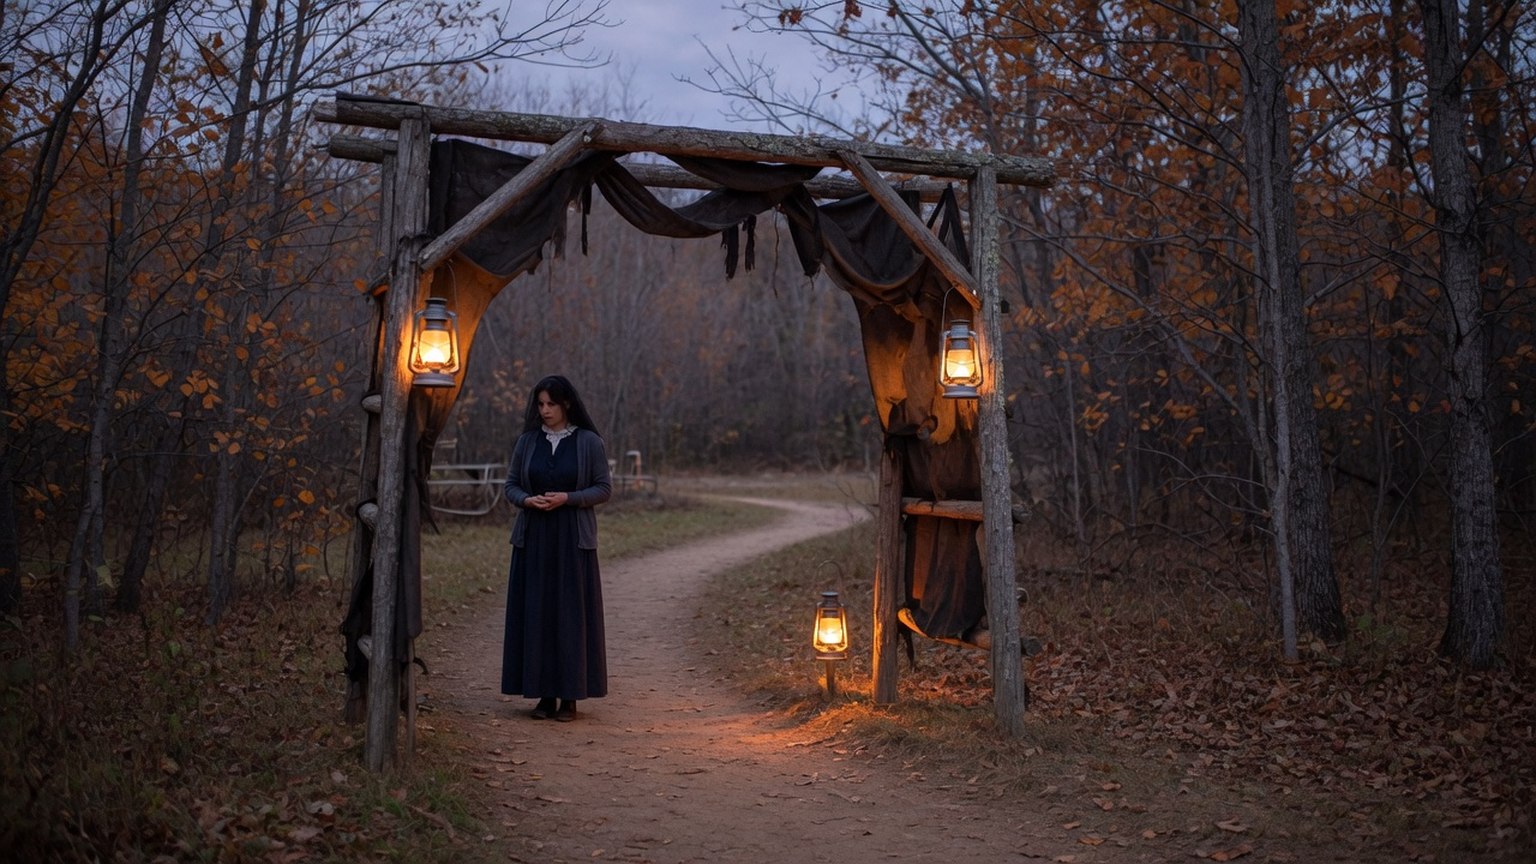
Every October, campground owners watch the same pattern play out. A hayride fills up, a costume contest draws a crowd for ninety minutes, and by eight o'clock everyone has drifted back to their sites. A haunted trail changes that math. It gives guests a reason to stay on the property for two or three hours, it produces the kind of photos people share without being asked, and it turns one weekend into a ticketed event with its own budget and its own staff plan. The catch is that a walk-through attraction is a production, not a decoration. Get the route, the pacing, and the staffing right and it runs itself. Get them wrong and you have a dark path, a bottleneck, and a line of bored guests.
Why a Haunted Trail Earns Its Space
Most fall events are built around a single moment: the contest, the movie, the candy. A trail is built around a journey, and a journey holds people longer. That matters for a glamping property because the experience is the product.
It also spreads revenue: a ticketed trail carries its own gate price, and people waiting for their slot are standing near your camp store or coffee window. None of that requires a big budget, just a route that works and a schedule that keeps groups moving.
Start With the Route, Not the Props
The most common mistake is buying animatronics and fog machines before walking the property with a stopwatch. Do the walk first. Pick a loop that begins and ends near parking or the main gathering area, so guests never have to be shuttled and never wander into a site they did not book.
Look for a path that is wide enough for two people side by side, firm enough for a stroller or a walking stick, and short enough to reset between groups. A ten- to fifteen-minute walk is plenty. Longer trails sound ambitious, but they cost more to staff and they slow your throughput to a crawl.
Sketch the route on paper and mark every point where the path narrows, turns, or crosses another trail. Those are your scene locations, because a turn is where suspense already exists. Then mark your exits. Every trail needs at least one mid-route exit that a guest can take without walking past the rest of the scares. Families with small children will use it, and staff need it if something goes wrong.
Keep the build low and easy to remove: zip-tied pallet walls, burlap, and black landscape fabric go up in a day and come down in an afternoon. Anything permanent should survive winter. If you want the bigger picture, our guide to creating unforgettable glamping experiences covers the bigger picture.
Pace the Scares, Not Just the Props
A haunted trail works on rhythm. Groups should move from a quiet stretch into a tense stretch, then get a real scare, then get a breather. If every twenty feet has something jumping out, guests stop being scared and start being annoyed. If nothing happens for three minutes, they start talking about dinner.
Plan roughly one active scene every sixty to ninety seconds of walking time, and alternate the intensity. A swinging light and a sound cue can be as effective as a costumed actor, and it costs nothing to reset. Save your best scare for the last third, when guests have relaxed and decided the trail is not that scary.
Darkness is your cheapest effect. Most properties over-light their trails because they are worried about liability, and then wonder why nothing feels spooky. Light the path just enough to be safe, and light the scenes from angles that hide the edges of your set. A single red or amber bulb behind a prop does more than a string of white lights overhead. Battery lanterns and solar path lights keep cords out of the mud and make teardown simple.
Sound needs the same restraint. One speaker per scene, pointed at the guests rather than the neighbors, is usually enough. Check local quiet hours before you plan a soundtrack, and test the volume from the nearest site, not from the trail. A guest who cannot sleep is a guest who leaves a review about it.
Staffing: Roles, Ratios, and Breaks
You need three kinds of people on a trail, and they are not interchangeable. Actors run scenes. Marshals walk the route or stand at key turns to keep groups moving and handle problems. A greeter works the entrance, checks tickets, sets expectations, and holds groups until the trail is clear.
As a working rule, plan one marshal for every four to five scenes, plus one greeter and one roamer who can cover breaks. That means a modest trail typically needs six to ten people on a busy night, including the person selling tickets. Recruit early. High school theater groups, local haunted-house volunteers, and returning staff are all good sources, and a short rehearsal matters more than a long one. Walk the trail together in the dark, run each scene once, and agree on a single signal that means stop everything.
Give actors a clear scare brief. No touching guests, no blocking the path, no following people out of a scene, and no targeting anyone who looks distressed. A guest who says "stop" gets an immediate exit and a calm escort out. Write that down, review it at the start of every shift, and keep water and a warm place to sit within reach.
If you want the storytelling to land harder, give the trail a loose local legend and let the actors reference it in character; a trail with a story feels designed rather than decorated. Our camping activity ideas are a good source for filling the rest of the evening.
Tickets, Throughput, and the Line
Sell timed entries rather than open tickets. Fifteen-minute arrival windows keep the line short and let your greeter hold the trail at a steady pace. If you sell open tickets, you will get a rush at eight o'clock and an empty trail at nine, and you will pay staff for both.
Do the math before you set a price. Take the number of guests you can move through in an hour, multiply by the hours you plan to run, and compare that to your labor and build cost. If the numbers are thin, shorten the run, add a second night, or bundle the trail with a stay rather than discounting the ticket. Bundling protects your rate and fills rooms, which is usually the better trade for a glamping property.
Promote it where your guests already are. A short video of one scene, shot on a phone in low light, outperforms a polished poster. Pair the trail with a pumpkin carving night or a decorated-site contest and you have a full weekend rather than a single attraction. For more low-cost ways to fill the calendar, our promotion ideas for glamping businesses are a good starting point.
Run It Like an Operation
Assign one person as trail manager for the night, and give them the authority to pause the line. Weather, a burnt-out bulb, a missing actor, or an upset guest all resolve faster when one person owns the decision. Keep a simple log: arrival counts by time slot, incidents, and staff no-shows. That log is what makes next year easier.
Teardown deserves a plan too. Props that get stacked loosely in the rain become next year's replacement cost. Label bins by scene, photograph each set before it comes down, and store anything fabric in a dry bin with a lid. The basics of running a property this way are covered in our tips for managing a campground, and they apply to a temporary attraction just as well.
Make It the Weekend People Plan Around
A haunted trail is not the cheapest event you can run, but it is one of the few that changes how long guests stay and what they remember. Build a route you can staff, pace the scares so they land, and treat the whole thing like an operation with a schedule and a manager. Do that, and the trail becomes a tradition guests ask about in September instead of a scramble you regret in November. Happy glamping, and happy haunting.


